Skip to content
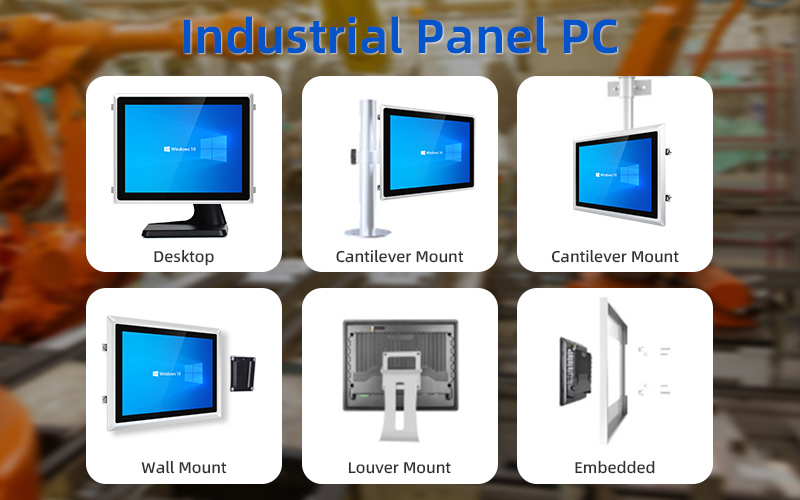
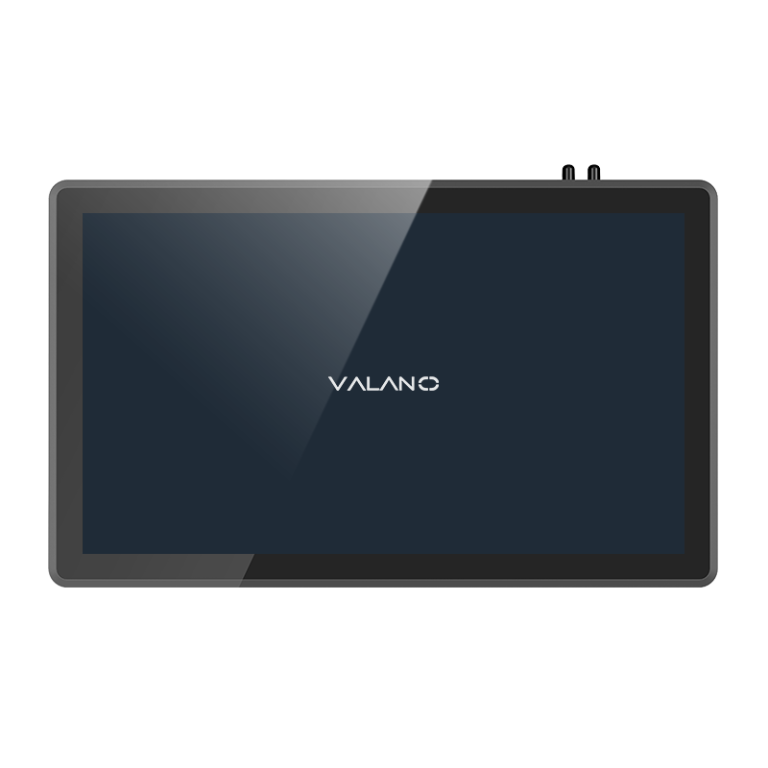
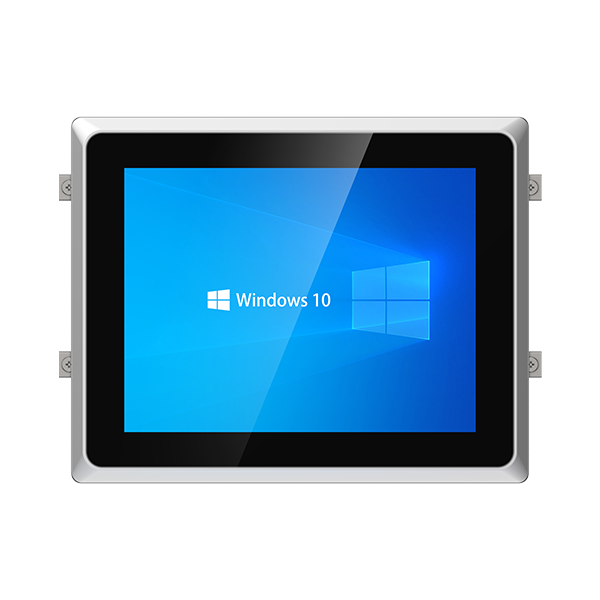
Installing correctly is crucial for understanding how to install an industrial panel PC, as it helps the device last longer and operate efficiently. These panel PCs are designed to withstand harsh conditions and have a failure rate of less than 0.5% annually. Choosing the right installation method enhances performance and ensures safety. Popular installation options include embedded, wall-mounted, desktop, louver, cantilever, and boom types. Each of these methods offers unique advantages tailored for factory environments.
Key Takeaways
Choose the right mounting method for your industrial panel PC to ensure optimal performance and safety. Options include embedded, wall-mounted, desktop, louver, cantilever, and boom arm setups.
Always use proper tools—such as screwdrivers, drills, and leveling devices—to ensure secure and aligned installation.
Follow manufacturer guidelines carefully to avoid long-term issues and extend the operational life of your panel PC.
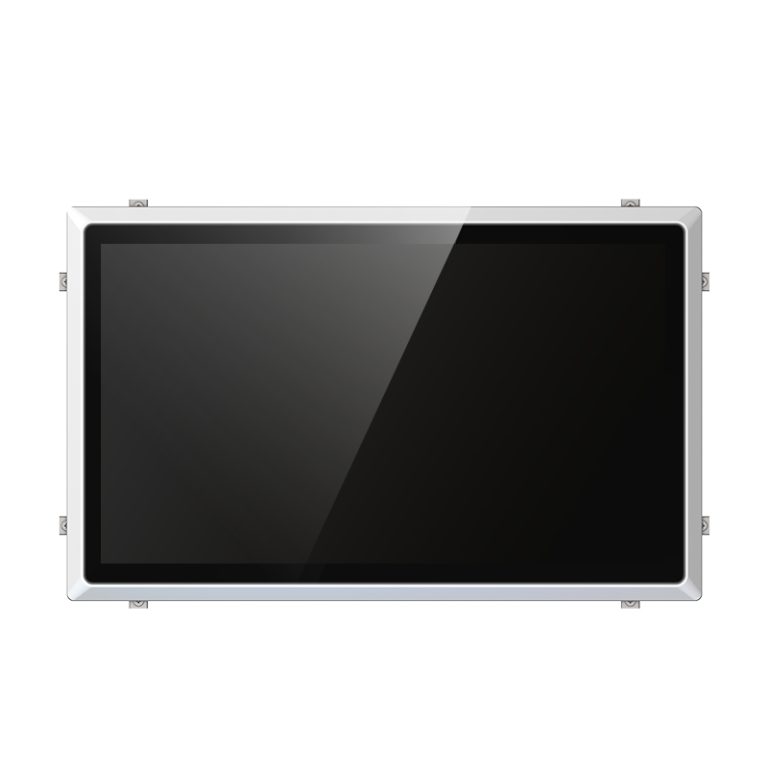
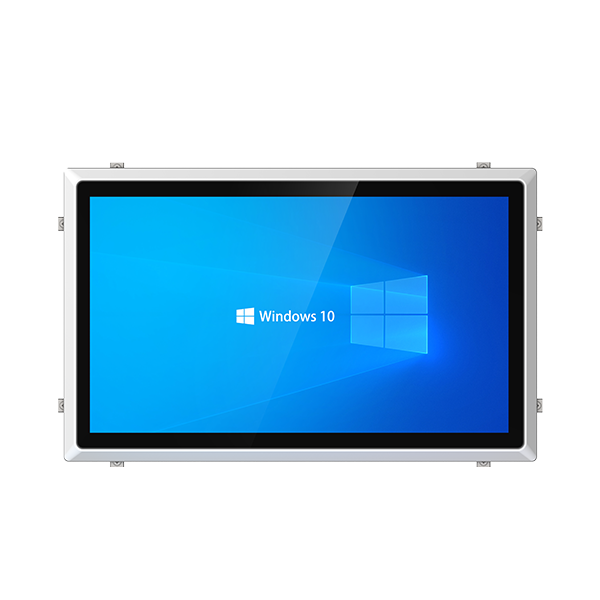
Embedded Installation
Tools Needed
To install an embedded industrial panel PC, prepare the following tools:
Screwdriver set: Compatible with included screws.
Drill machine: For making accurate mounting holes.
Measuring tape: Check sizes for correct placement.
Level tool: Ensure everything is straight during setup.
Mounting brackets: Usually come with the panel PC.
Step-by-Step Installation Guide
Clean the surface: Wipe the area where the panel PC will go. Remove dirt and grease.
Mark dimensions: Use a measuring tape to outline the panel PC’s size on the surface. Double-check to avoid mistakes.
Cut the hole: Drill or cut the marked area to fit the panel PC.
Attach brackets: Secure the brackets to the hole with screws. Make sure they are tight and straight.
Insert the panel PC: Place the panel PC into the hole. Adjust it until it fits perfectly.
Secure the panel: Screw the panel PC to the brackets. Use the level tool to check alignment.
Test it: Turn on the panel PC to see if it works. Look for loose parts or misalignment.
Tips and Warnings
Tip: Always follow the manufacturer’s instructions for installation.
Warning: Don’t tighten screws too much, as it can break parts.
Embedded mounting is widely used in industries where space-saving and durability are critical. Automotive manufacturers, for example, have reduced downtime by 18–22% using embedded industrial panel PCs. Similarly, chemical plants in Germany reported a 30% decrease in unplanned maintenance costs when using AI-integrated embedded systems. These benefits make embedded installations a preferred choice for modern factories.
Wall-Mounted Installation
Tools You’ll Need
To install a wall-mounted industrial panel PC, prepare the following tools:
Drill machine: To make holes for mounting.
Screwdriver set: For tightening screws and brackets.
Measuring tape: To measure and mark spots.
Level tool: To keep the panel PC straight.
Wall-mounting brackets: Usually included with the panel PC.
Easy Installation Steps
Pick a spot: Find a strong wall that can hold the panel PC. Stay away from walls that shake or vibrate.
Mark the spots: Use the measuring tape to mark where the brackets will go. Check with the level tool to ensure it’s straight.
Drill holes: Drill into the marked spots. Make sure the holes fit the screws.
Fix the brackets: Attach the brackets to the wall with screws. Tighten them well so they don’t move.
Place the panel PC: Line up the panel PC with the brackets and secure it.
Test stability: Gently shake the panel PC to check if it’s steady.
Turn it on: Power up the panel PC to see if it works correctly.
Helpful Tips and Warnings
Tip: Always use a level tool to keep the panel PC straight. If it’s crooked, it might not work as well.
Warning: Don’t tighten screws too much, or you could break the brackets.
Wall-mounted industrial panel PCs are tough and can handle harsh conditions like heat, moisture, and dust. Their strong design makes them perfect for busy places like factories and warehouses. This is why they are widely used in industrial settings.
Desktop Installation
Tools You’ll Need
To install an industrial panel PC on a desk, prepare the following tools:
Screwdriver set: To tighten screws during setup.
Measuring tape: To check proper placement and alignment.
Anti-slip mat: Stops the panel PC from sliding on the desk.
Cable ties: Keeps cables neat and organized.
Simple Installation Steps
Get the desk ready: Clear the desk. Make sure it’s stable and clean.
Place the panel PC: Put the panel PC on the desk. Use the measuring tape to center it.
Secure the stand: If there’s a stand, attach it to the base with screws. Tighten them using a screwdriver.
Tidy the cables: Plug in the cables. Use cable ties to bundle them neatly.
Check if it’s steady: Push the panel PC gently to see if it wobbles. Adjust the stand if needed.
Turn it on: Power up the panel PC to ensure it works properly.
Helpful Tips and Warnings
Tip: Place an anti-slip mat under the panel PC for extra grip.
Warning: Don’t put the panel PC near the desk’s edge to avoid falls.
Desktop installation is great for places needing easy access and movement. It’s perfect for offices, control rooms, and industrial spaces. Follow these steps to install your panel PC safely and easily.
Panel Mounting on Louvered Control Cabinet Installation
Tools You’ll Need
To install an industrial panel PC on a louvered control cabinet, prepare the following tools:
Screwdriver set: Tightens screws during setup.
Drill machine: Makes holes on the cabinet door for mounting.
Measuring tape: Ensures correct placement.
Level tool: Keeps the panel PC straight and aligned.
Mounting brackets or clamps: Usually included with the panel PC or cabinet kit.
Easy Installation Steps
Clean the surface: Wipe the cabinet door or panel where the PC will be mounted. Remove dust and oil for better adhesion and contact.
Mark the cut-out dimensions: Use the measuring tape to outline the required panel cut-out on the louvered cabinet door, following the manufacturer’s size template.
Cut the opening: Drill and cut along the marked lines to create a precise opening for the panel PC. Ensure the louvers remain unobstructed for airflow.
Install the mounting brackets: Attach brackets or clamps on the inner side of the opening to hold the panel PC in place. Use screws to secure them without over-tightening.
Insert the panel PC: Carefully place the panel PC into the cut-out opening from the front side. Ensure a snug and level fit.
Secure the panel: Tighten the screws from inside using the provided bracket or clamp system to lock the PC into the cabinet door securely.
Test the setup: Power on the panel PC to ensure proper operation. Check for any gaps, misalignment, or vibration.
Helpful Tips and Warnings
Louver cabinet installations are ideal in environments requiring airflow and thermal management. By embedding the panel PC into a ventilated control cabinet, you improve heat dissipation while maintaining protection against dust and splashes—making it a smart choice for automation systems, manufacturing plants, and power distribution stations.
Cantilever Installation
Tools You’ll Need
To install an industrial panel PC with a cantilever arm, prepare the following tools:
Drill machine: Makes holes for mounting.
Screwdriver set: Tightens screws firmly.
Measuring tape: Measures distances for accurate placement.
Level tool: Keeps everything straight.
Cantilever arm: Usually comes with the panel PC.
Easy Installation Steps
Pick a spot: Find a strong surface to attach the cantilever arm. Make sure it can hold the panel PC’s weight.
Mark the area: Use the measuring tape to mark where the arm will go. Check with the level tool to keep it straight.
Drill the holes: Drill into the marked spots. Ensure the holes fit the screws properly.
Fix the cantilever arm: Attach the arm to the surface with screws. Tighten them well using a screwdriver.
Attach the panel PC: Line up the panel PC with the arm and secure it tightly.
Adjust the angle: Move the arm to set the panel PC at the best angle.
Test the setup: Gently move the arm to check its motion. Turn on the panel PC to ensure it works fine.
Helpful Tips and Warnings
Tip: Check the cantilever arm often for damage to keep it safe.
Warning: Don’t add extra weight to the arm. It could make it unstable.
Cantilever installation is great for places needing flexible positioning. This setup helps you place your industrial panel PC for better use and visibility.
Boom-Type Installation
Tools You’ll Need
To install an industrial panel PC with a boom arm, you’ll need:
Drill machine: Makes accurate holes for mounting.
Screwdriver set: Tightens screws securely.
Measuring tape: Helps mark the correct spots.
Level tool: Ensures the boom arm stays straight.
Boom arm: Usually comes with the panel PC.
Easy Installation Steps
Pick a strong surface: Choose a sturdy spot that can hold the boom arm and panel PC.
Mark the spots: Use the measuring tape to mark where the arm will go. Check with the level tool to keep it straight.
Drill the holes: Drill into the marked spots. Make sure the holes fit the screws.
Fix the boom arm: Attach the arm to the surface with screws. Tighten them well using a screwdriver.
Attach the panel PC: Line up the panel PC with the arm and secure it tightly.
Adjust the position: Move the arm to set the panel PC at the right angle and height.
Test the setup: Gently move the arm to check its motion. Turn on the panel PC to ensure it works properly.
Helpful Tips and Warnings
Tip: Check the boom arm often for damage to keep it safe.
Warning: Don’t add extra weight to the arm. It could make it unstable.
Boom-type installation is very flexible. It lets you adjust your industrial panel PC for better viewing and use. This method works well in places needing frequent changes.
Picking the right way to mount your industrial panel PC helps it work well in its space. Each method has special advantages for different uses. The table below shows how they work:
Mounting Method | Description | Typical Applications |
|---|---|---|
Embedded industrial panel PC | Installed flush into control panel cut-outs; secured with brackets or screws. | Control panels, kiosks, confined environments |
Open frame industrial panel PC | No front frame, good for tight spaces. | Small setups |
Flip-chip industrial all-in-one PC | Installed backward, matching the edge of the casing. | Power, machines, medical tools |
Rack-mounted industrial all-in-one PC | Standard size, fits cabinets with U-shaped holes. | Telecom, big servers |
Wall-mounted industrial all-in-one PC | Hung on walls or machines, easy to adjust. | Medium and large machines |
Always choose the method that fits your needs and location. Follow the maker’s guide and ask experts if needed for safe and proper installation.
FAQ
What is the best way to mount in small spaces?
Embedded mounting is great for small areas. It places the panel PC into a cut-out spot, saving room and keeping it secure.
Can I set up an industrial panel PC by myself?
Yes, as long as you follow the manufacturer’s installation guide, use the correct tools, and double-check alignments. If you’re unsure, consulting a technician is recommended for safety and optimal performance.
How do I take care of a wall-mounted panel PC?
Check the brackets often to make sure they’re stable. Clean the screen and nearby area to stop dust from building up. Don’t tighten screws too much during cleaning to avoid breaking parts.